The world of music is constantly evolving and embracing new technologies to provide listeners with unique, immersive experiences. One such evolution is the concept of "8D audio", a sound engineering technique that gives the listener the illusion of the audio coming from different directions, providing a three-dimensional listening experience.

If you're interested in producing 8D audio yourself, Adobe Audition, Adobe's professional audio workstation, is an excellent tool to get started. In this comprehensive guide, we'll walk you through the step-by-step process of creating 8D audio using Adobe Audition.
What is 8D Audio?
8D audio, often also known as spatial or immersive audio, manipulates the listener's perception of sound. It creates an illusion of the sound moving around the listener through headphones. This is achieved through a process known as "binaural panning", which uses the time delay and tonal changes between the left and right ear to give a sense of direction and distance.
Now, let's dive into the process of creating 8D audio using Adobe Audition.
Step 1: Launch Adobe Audition and Import Your Audio
Begin by launching Adobe Audition. Import the audio file you wish to transform into 8D audio. You can do this by selecting File > Open or by dragging and dropping the audio file into the workspace.
Step 2: Convert Stereo to Mono
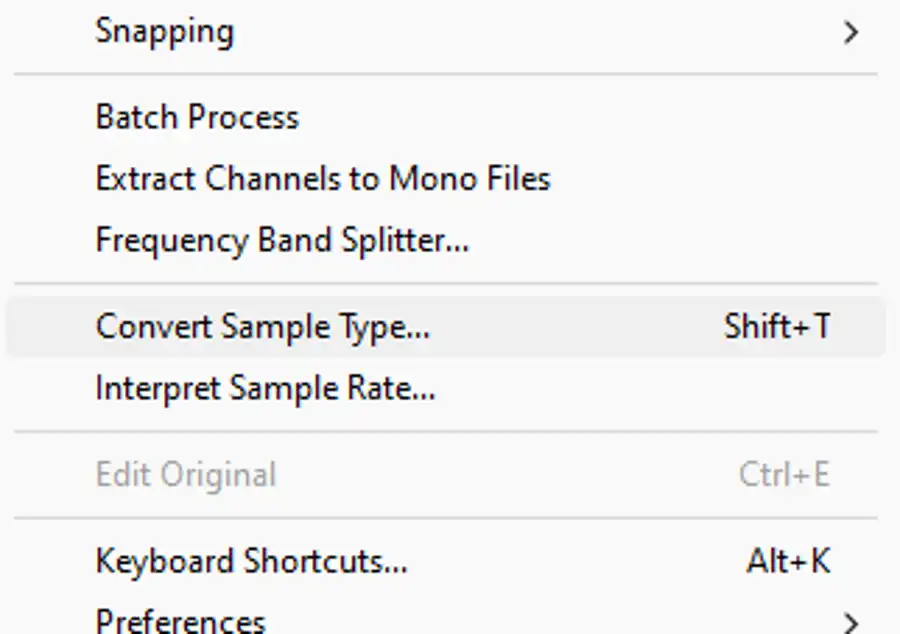
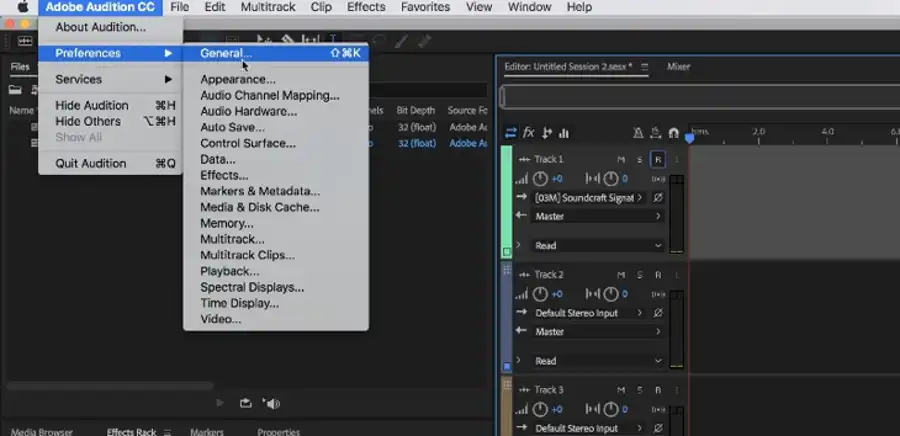
8D audio works on a mono track that is then processed for binaural panning. To convert your stereo track to mono, select Edit > Convert Sample Type. A dialogue box will open. Choose Mono from the Channels drop-down menu, then click OK.
Step 3: Create a New Multitrack Session
The next step is to create a new multitrack session. Go to File > New > Multitrack Session. Name your session and select a location to save it.
Step 4: Add Your Mono Track to the Multitrack Session
Drag your mono track from the Files panel into track one of the multitrack session.
Step 5: Apply Binaural Panning
Now that your track is ready, the main step in creating 8D audio is to apply binaural panning. This process will create an illusion of the sound moving around the listener's head.
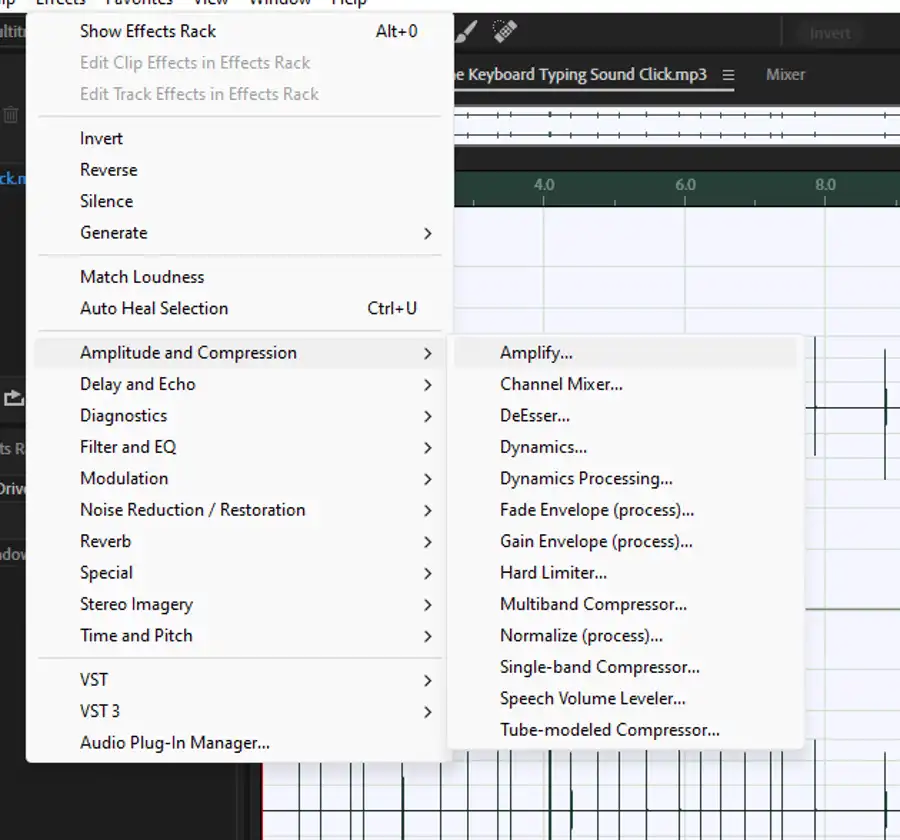
To do this, go to Effects > Amplitude and Compression > Balance. This will open the balance effect on the left panel. Adjust the balance to pan the sound from left to right or right to left.
For a more realistic effect, you can automate the panning to smoothly transition the sound from one side to the other. To automate the panning, expand track one in the multitrack session and click on Show Envelopes > Pan.
You'll see a line across your track - this is the pan envelope. By adding points to this line and dragging them, you can control the panning of your audio. A higher position corresponds to the right channel, and a lower position corresponds to the left channel.
Start by adding a point at the beginning of the line and drag it all the way down (100% Left). Then, add a point at the end of the line and drag it all the way up (100% Right). This will create a smooth transition from left to right.
Step 6: Add Reverb
Adding reverb simulates the acoustics of different environments and gives the sound a sense of space, further enhancing the 8D effect.
To add reverb, select Effects > Reverb > Studio Reverb. This opens the reverb effect panel. Here, you can select a preset or adjust the settings manually. For 8D audio, a large, spacious preset like "Great Hall" often works well.
Step 7: Adjust EQ
Next, you can adjust the equalizer (EQ) to mimic the frequency changes that occur naturally as a sound source moves around a listener.
Go to Effects > Filter and EQ > Parametric Equalizer. Here, you can boost the high frequencies slightly for the sound coming from the front and reduce them for the sound coming from behind.
Step 8: Finalize and Export Your 8D Audio
Once you've applied all the effects, play back your audio and make any necessary adjustments. When you're satisfied with your 8D audio, it's time to export it.
To export your audio, select File > Export > Multitrack Mixdown > Entire Session. Choose a location, file format (typically MP3 or WAV), name your file, and click OK.
Conclusion
Creating 8D audio may seem like a complex process, but with Adobe Audition and a bit of practice, you can create an immersive audio experience that takes your listeners on a unique sonic journey. Remember, the key to effective 8D audio is careful binaural panning, strategic application of reverb, and thoughtful EQ adjustments. Happy mixing, and enjoy immersing your listeners in the world of 8D audio!
Questions you might be asking
How do I make 8D audio?
To make 8D audio, you need to create a multi-channel audio track with different elements placed at various points in the virtual sound space. You can use specialized software like FL Studio, Ableton Live, or Spatial Audio Designer to create 8D audio. Alternatively, you can also create 8D audio using basic editing tools like panning, volume, and delay in free audio editing software like Audacity.
How do I make audio 8D in Audacity?
You can create 8D audio in Audacity by using the panning effect. First, import your audio track into Audacity. Then, split the track into different segments based on individual elements that you want to move around in the virtual sound space. To create the 8D effect, pan each segment to a different side/point in the sound field. For example, you can pan the left channel almost completely left and the right channel almost completely right to create the effect of two elements moving in two opposite directions.
How do I change audio levels in Adobe Audition?
Adobe Audition offers several ways to change audio levels. You can select a specific portion of audio in the waveform editor and use the volume slider to change the overall level of that section. You can also use the Amplitude and Compression effects to adjust the level of specific audio frequencies or dynamic range. Additionally, you can use the Gain effect to adjust the gain of a clip without altering its volume.
How do I make audio clearer in Adobe Audition?
To make audio clearer in Adobe Audition, you can use the Noise Reduction effect. This tool identifies the noise in your audio and removes it to make the speech or music more distinct. You can also use the Equalizer effect to boost or cut specific frequency ranges to emphasize certain parts of the audio. Additionally, the DeEsser effect can help remove harsh consonant sounds that can affect the clarity of speech.