
Adobe Audition is a powerful audio editing tool developed by Adobe Systems that offers a multitude of features for advanced audio processing, mixing, and restoration. One key aspect of audio editing is the ability to insert silence at precise locations, providing clear intervals between segments or muting certain parts of an audio track. In this blog post, we will delve into a step-by-step guide on how to insert silence into your audio files using Adobe Audition.

Step 1: Importing Your Audio File
Let's start with the basics. The first step in the process is importing your audio file into Adobe Audition:
- Launch Adobe Audition.
- Click on "File" in the top menu, then select "Open" (or use the shortcut CTRL + O on Windows, CMD + O on Mac).
- Navigate to the location of your audio file on your computer and click "Open".
Your audio file should now be visible in the "Files" panel.
Step 2: Navigating to Your Desired Location
After importing your file, the next step is to navigate to the part of the audio where you want to insert the silence. You can do this by:
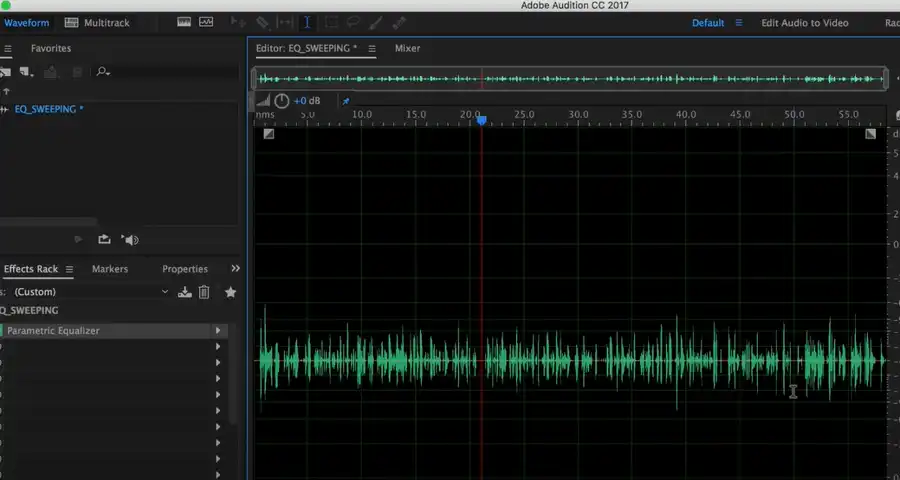
- Double-clicking your audio file in the "Files" panel, which will open it in the "Waveform Editor".
- Dragging the playhead or clicking within the waveform to the location where you want to insert silence.
The playhead is represented as a vertical red line that moves across the waveform as the audio plays.

Step 3: Inserting Silence
Once you have navigated to the desired location, you can insert silence by:
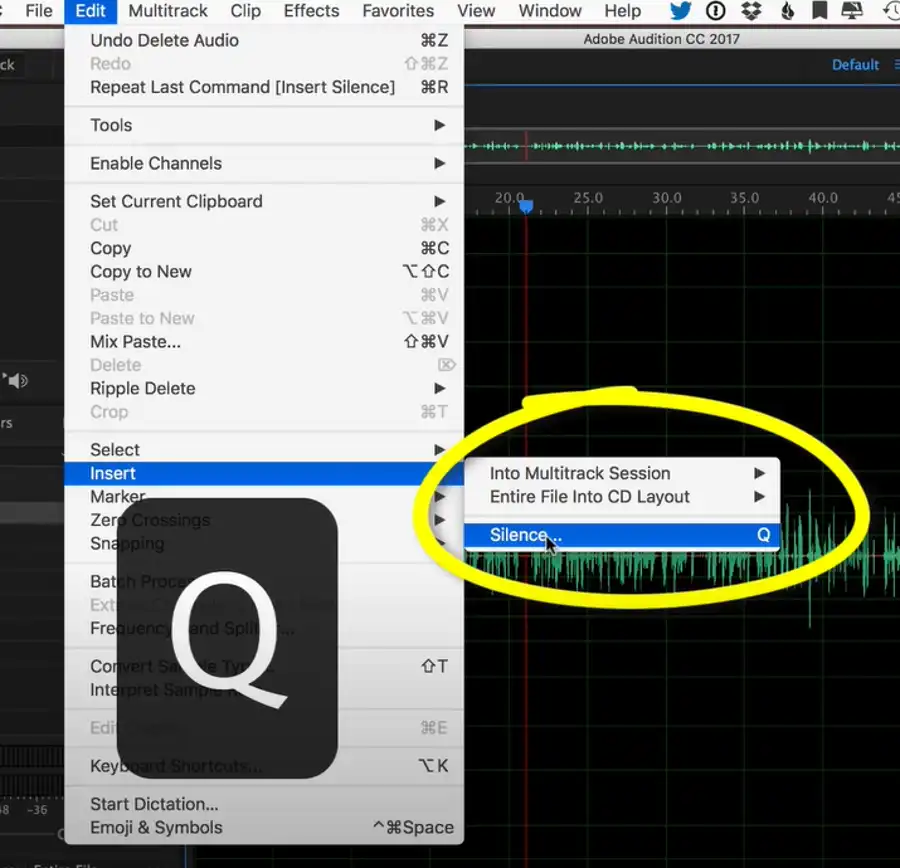
- Clicking on "Edit" in the top menu.
- Selecting "Insert" from the dropdown menu.
- Clicking on "Silence".
- A dialog box will appear where you can specify the duration of the silence you want to insert. Enter the duration in the "Duration" field and click "OK".
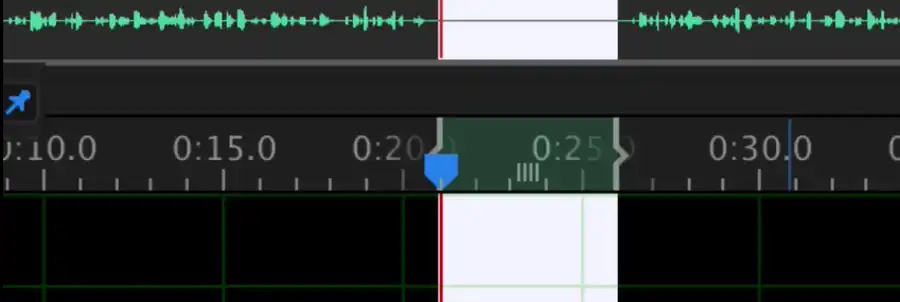
You should now see a flat line segment in your waveform representing the inserted silence.

Step 4: Fine-Tuning
If the silence you inserted doesn't sound quite right, you can adjust it using the "Time Selection" tool:
- Click on the "Time Selection" tool in the toolbar or press "T" on your keyboard.
- Click and drag over the silence you inserted to select it.
- Go to "Edit" > "Cut" or press CTRL + X on Windows or CMD + X on Mac to remove it.
- Repeat the silence insertion process (as detailed in Step 3) with your desired duration.
Advanced: Automating Silence Insertion
If you're working with a longer project and need to insert multiple moments of silence at regular intervals, you might consider automating the process using "Markers" and "Batch Processing".
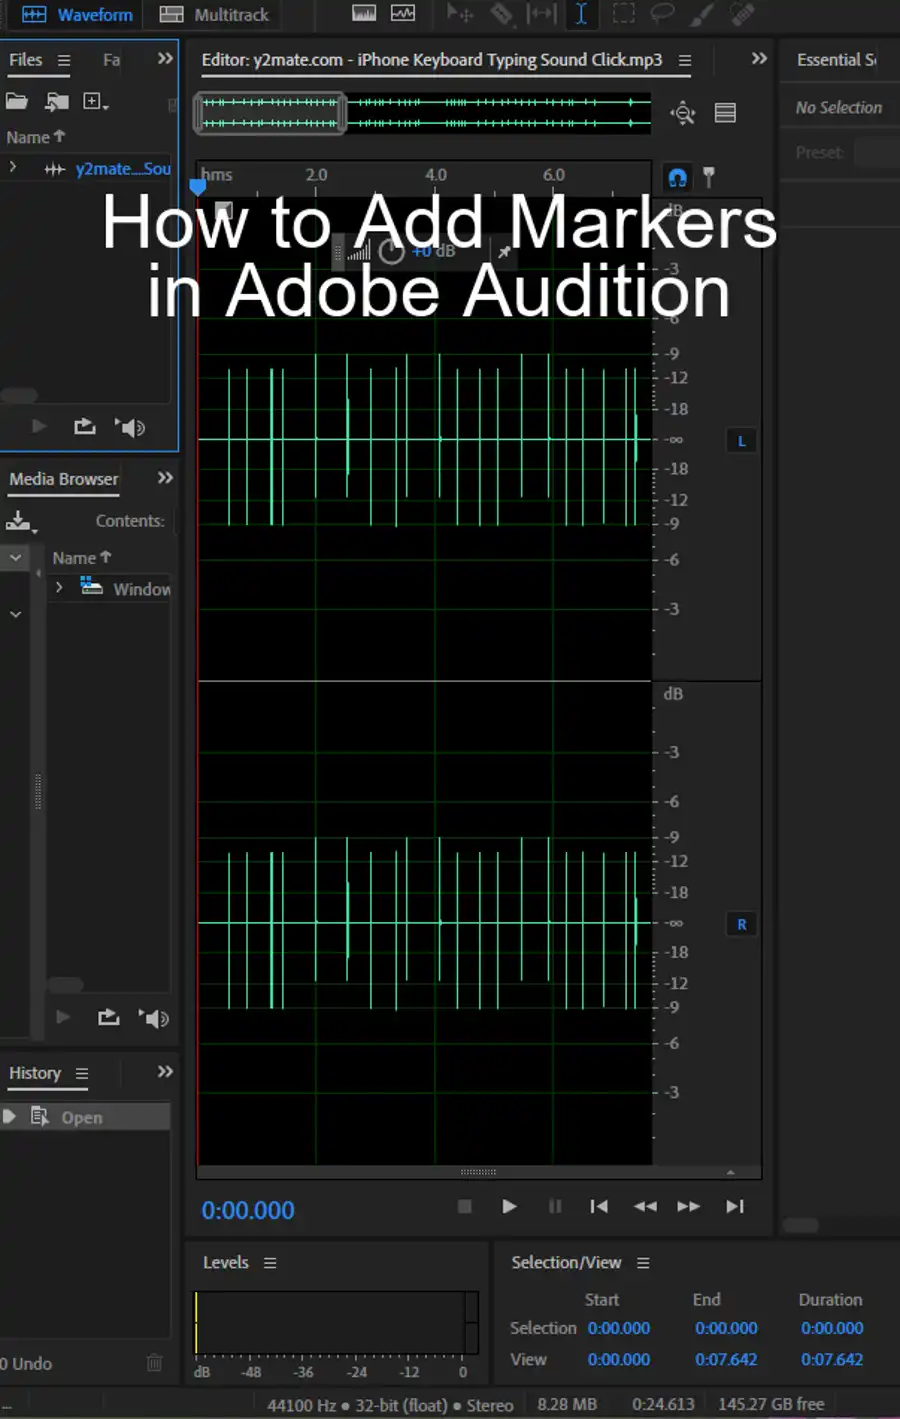
Step 1: Adding Markers
- Navigate to the points where you want to insert silence, and add a marker by clicking the "Add Marker" button (or press "M" on your keyboard).
- Repeat this step for all points where you want to insert silence.
Your markers will be visible in the "Markers" panel.
Step 2: Batch Processing
- Click on "Window" in the top menu and select "Batch Process" to open the Batch Process panel.
- In the "Files" section, click on the "Add Files" button and add your audio file.
- In the "Processes" section, click on "Insert Silence" and set your desired silence duration.
- In the "Destination" section, choose whether you want to overwrite your original file or create a new one.
- Click on the "Run" button to apply the silence at all the marked points.
The automation process significantly speeds up your workflow, especially when dealing with extensive audio files.
Conclusion
Inserting silence in Adobe Audition can seem complex initially, but with a little practice, it becomes a straightforward process. Whether you're creating a podcast, editing a song, or working on any audio project, knowing how to insert silence effectively is a crucial skill in your audio editing toolkit. Experiment with the steps above and fine-tune the process to suit your unique audio editing needs.
Adobe Audition is a robust tool with capabilities beyond inserting silence, and mastering it can help you create professional-quality audio projects. Remember, the key to becoming proficient in Adobe Audition, like any other tool, lies in consistent practice and experimentation.
Keep tuning those audio files, and happy editing!
Questions you might be asking
How do you silence a clip in Audition?
To silence a specific clip in Audition, simply select the clip and press the "M" key. This will mute the clip without removing it from your project entirely. Alternatively, you can adjust the clip volume to 0 by clicking on the clip and dragging the volume slider to the left.
How do I silence background noise in Audition?
To reduce background noise in Audition, you can use the noise reduction effect. First, select a portion of the audio waveform that only contains background noise. Next, go to Effects > Noise Reduction/Restoration > Noise Reduction (process). Adjust the settings to your liking, then select "Capture Noise Print" to take a sample of the background noise. Finally, apply the noise reduction effect to the entire audio track.
How do you strip silence in Adobe Audition?
Stripping silence in Adobe Audition is a great way to remove gaps of silence from your audio tracks. To do this, select the audio track you want to remove silence from. Next, go to Effects > Amplitude and Compression > Normalize. Check the "Remove silence" box, and adjust the threshold and duration settings to your liking. Press OK, and Audition will automatically strip out any sections of silence above the threshold you specified.