If you've just downloaded and started using Premiere Pro and haven't had any experience with moving objects around using keyframes, it might look a bit complicated at first. But we are here to help.
In this tutorial, we'll learn how to use keyframes to make an image or an object move in Premiere Pro, so let's get started.
Key Takeaways
- Use keyframes to move pictures around.

Also related: How to do motion tracking in Premiere Pro?
How do I animate an image in Premiere Pro?
Let's make an image from left side of our screen to the right.
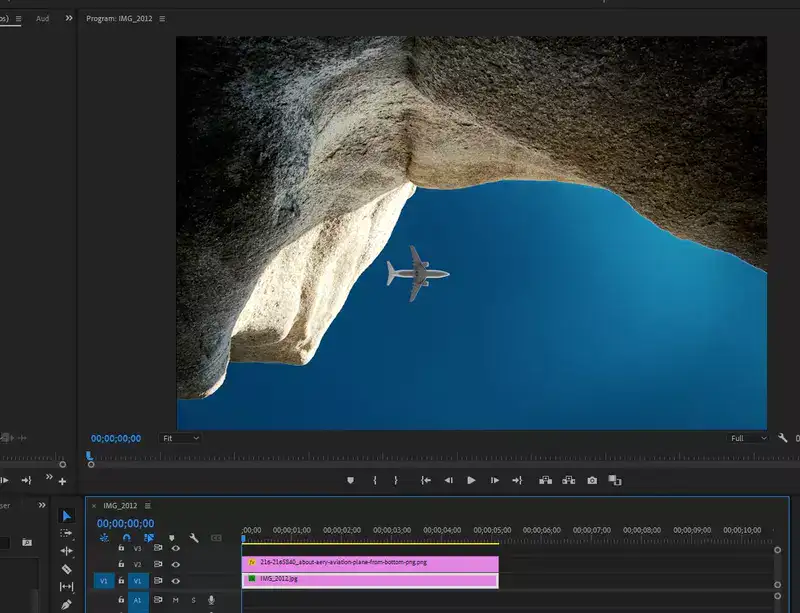
Step 1: Add your pictures. For demonstration purposes, we've added a background sky image and a transparent plane.
Step 2: Select the image you want to animate and make it move.
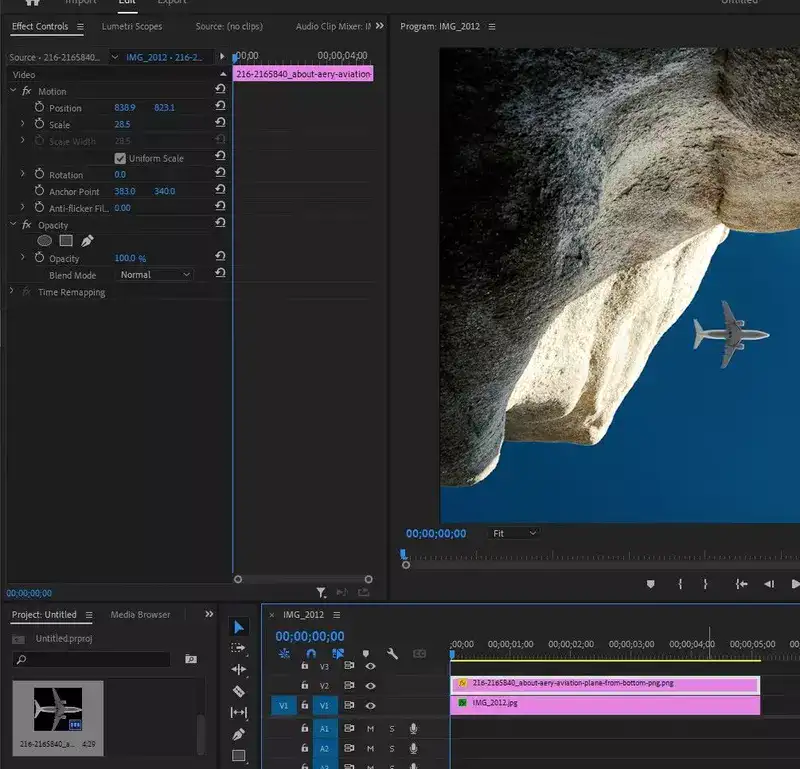
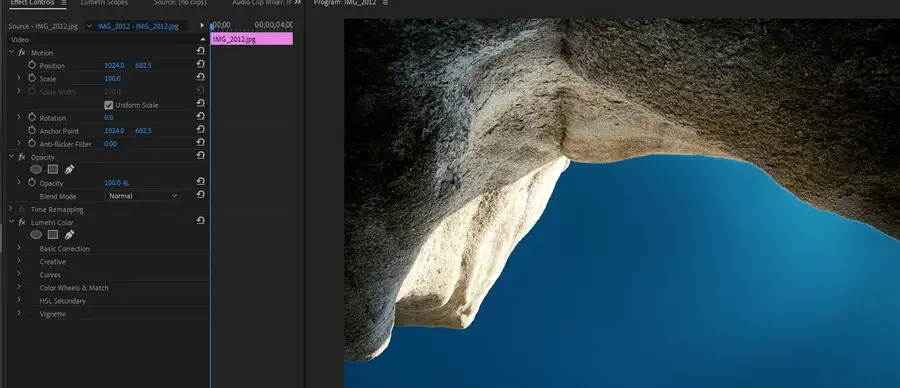
Step 3: Effects control panel should appear for the image selected. That's where we create our keyframe that tells Premiere Pro when and in which direction the image should be moving.
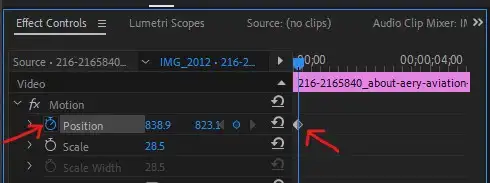
Step 4: Bring the timeline to the beginning and click on the clock image to set the first keyframe. That's where the animation starts. You can also see the exact X and Y locations of your image or clip pre-animation.
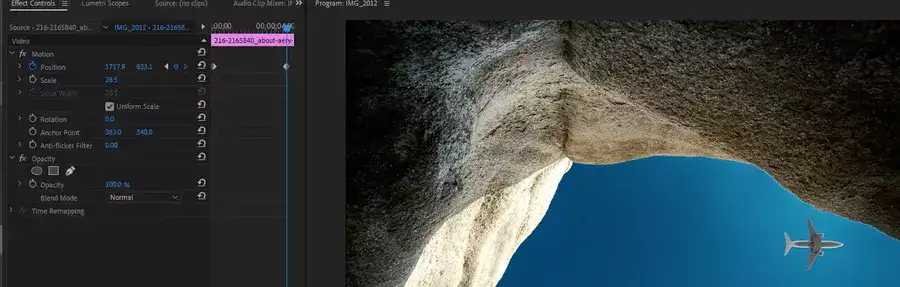
Step 5: Move the timeline to where you want the animation to end. Then change the X-axis coordinates of your image. If it's easier, you could just drag your image on the screen to the location you want it to be. Premiere Pro will automatically create a second keyframe showing where your animation ends.
Once you play your project, you'll have a plane moving across the blue sky as you see here:
How do I make a still image scroll in Premiere?
It's very similar to making an image move, but this time, we'll be zooming in on the image to achieve the scroll effect we are looking for. Let's create a video from an image.
Step 1: Import your image
Step 2: Select your image and go to the Effects Control panel.

Step 3: Before creating your first keyframe, zoom in on the image by increasing the scale from 100 to whatever value you want to have. In this case, we increased it to 145.
Step 4: Now we can set our keyframes at the beginning and end of our animation as we explained above. Don't forget to change the X-Y axis coordinates to achieve the scroll effect.
The end result should look like this:
That's it for this tutorial, if you want to be able to do more than just move and scroll images around, be sure to check our best video editors for special effects article.