
You might want to reverse a video clip for comedic or artistic effects every now and then. In this tutorial, we are going to learn how to reverse a video in Premiere Pro without messing up its quality. So, let's get started.

Related: How to make an image move in Premiere Pro
How to reverse a video in Premiere Pro?
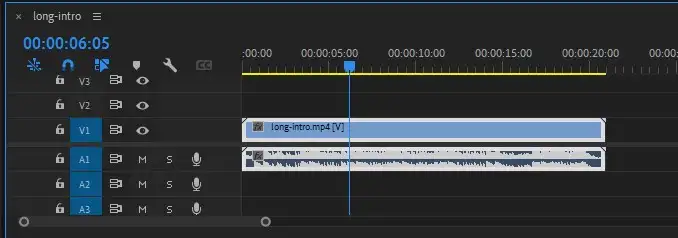
Step 1: Import a clip you want to reverse.
Step 2: Right-click on the clip and click on "Speed/Duration." This will reverse the entire selected clip. If you wish to reverse just a part of it, make sure to select the razor tool and cut the part you want to apply reverse.
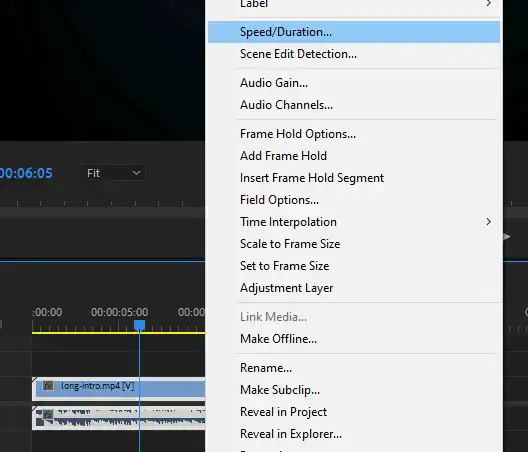
Step 3: Clip speed/Duration box will pop up. From the options menu, select "Reverse Speed" and click Okay. Depending on the effect you want to achieve, you can play with the reversing speed. If you slow it down you can achieve a slow-mo reverse effect.
Also read: How to add music in Premiere Pro?
Is there a shortcut for reversing clip?
Yes, there is a shortcut you can use to easily reverse a clip. It's "Ctrl+Shift+R" for Windows and "Command+Shift+R" for MAC devices. If it doesn't activate reversing for you, you can always go to Preferences>Key bindings and set a custom shortcut.