Premiere Pro allows you to add special effects to your video projects, such as transitions, titles, credits, and rotation. The most common way to rotate a video is by using the Transform effect. This effect lets you change the orientation of a clip. Using this effect, you can create cool visuals or fix angle issues that your clip might have.
PS: The process is exactly the same if you're using Adobe Premiere Pro CC's lighter version, Premiere Rush.

Related: How to invert colors in Premiere Pro?
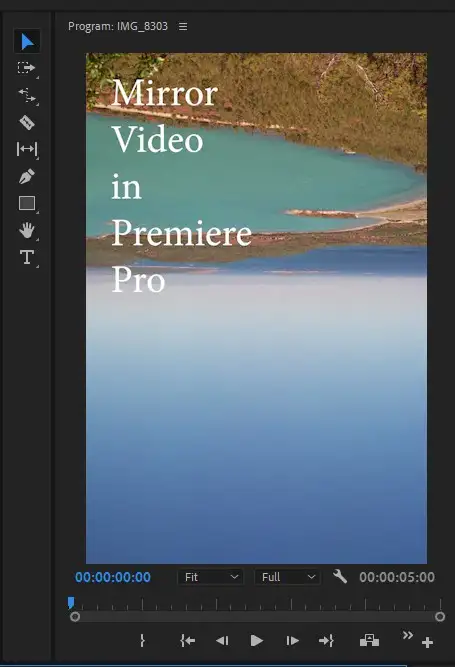
How to flip and rotate a video in Premiere Pro 2022?
Although used interchangeably, flipping, rotating, and mirroring is different tasks, but we'll go over each of them and show you how they're done.
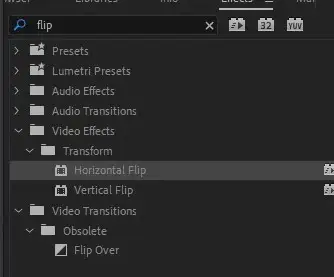
How do you flip/mirror a video horizontally in Premiere Pro?
Adobe Premiere Pro has a built-in effect for it that lets you instantly flip/mirror a video either horizontally or vertically.

Step 1: Navigate Effects and from the drop-down menu, select Effects > Video Effects > Transform > Horizontal flip.
Step 2: Drag and drop Horizontal flip on your desired clip.
Step 3: It'll immediately mirror image/video clip horizontally.
Also read: How to add music to Premirere Pro?
How do you flip a video 90 degrees in Premiere Pro
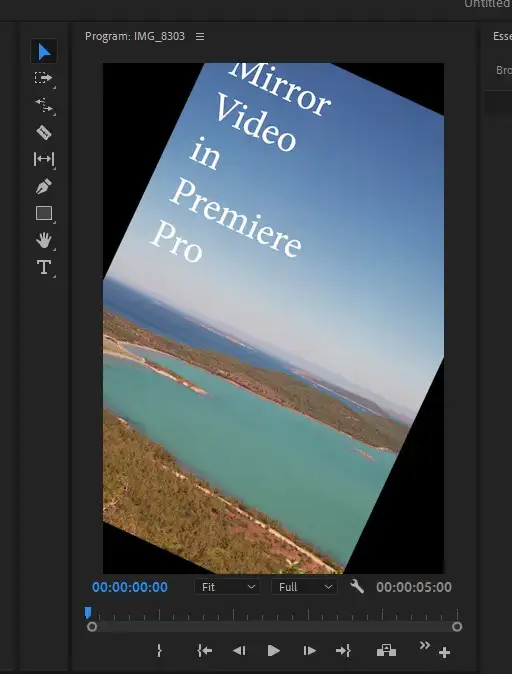
Rotating your original clip is an entirely different process than the simple steps we outlined above. To rotate a video 90 degrees in Adobe Premiere Pro;
1. Select your video file in the timeline by clicking on it.
2. Go to the Effects Control menu.
3. Find Rotation Under Video > Motion.
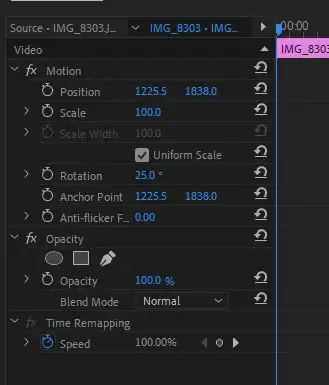
4. That's where you can rotate your original footage to whatever degree you wish. Setting it to 90 degrees will make the footage vertical if you're working with a horizontal one. If you have vertical footage and you make rotate it 90 degrees, you'll end up with horizontal footage. You see the changes in your preview window and stop when you get to your desired rotation.
Also read: How to add lower thirds to Premiere Pro?