
Are your videos lagging when you play them back? Are the frames being skipped and the transitions and effects not working correctly? Your video clip needs rendering.
Premiere Pro usually references your assets from the stored folders to keep your projects small and manageable. However, this may cause other issues in the video playback.

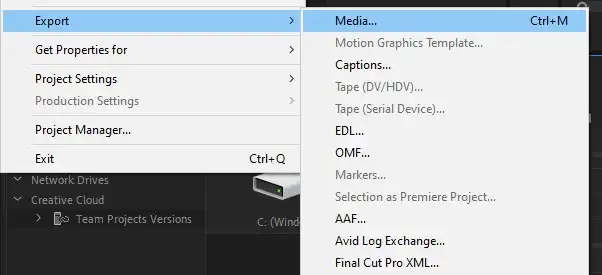
Related: How to export Premiere Pro for YouTube?
Do I Need to Render in Premiere Pro?
Yes. When your project is rendered, Premiere Pro will create a new clip behind the scenes, and when you play it back, Premiere Pro will refer to the preview version with all its effects.
This will cause the video to freeze and will make the video lag during playback.
Rendering a video clip in Premiere Pro can be tedious, but it is all worth it as it will make your video play at full speed and quality.
With these steps, you will be able to render your videos and increase their efficiency.
Also read: How to export Premiere Pro in MP4?
Define the work area you want to render
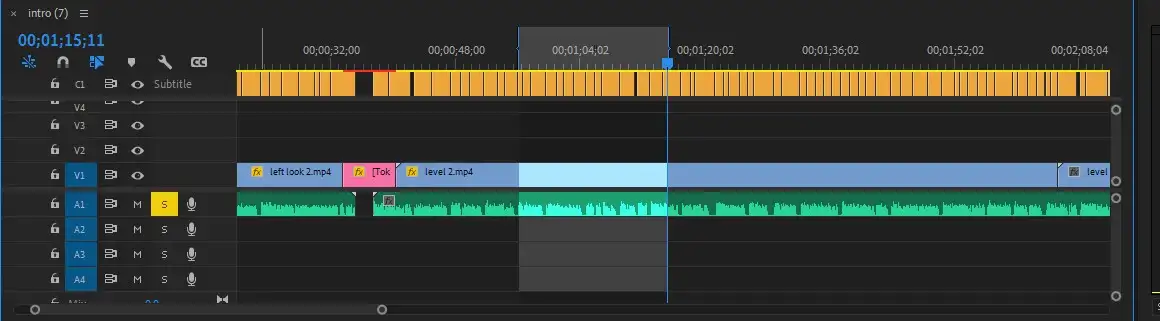
- Place your play head at the beginning of the section, then press I or click Alt+[ or Option+[.
- Move the play head to the end of the section, then press O to mark it out or click Alt+] or Option+].
- Do this to both the media viewer and timeline, and you will see the selection highlighted after adding the in and out points.
After defining your work area, it's time to render your video. There are 4 different options you can use to render your video, and they include:
Render Effects In and Out
This type of render looks for transitions and effects that are making the project video lag. Press Return or Enter on the keyboard after defining the area you wish to render. It will render out any of the red bars in your timeline.
Render In to Out
This will render the selected region with a yellow or red bar. It is an excellent option for large projects but may be time-consuming.
Render Selection
If you are working on a large project and do not want to render the whole timeline, use this option to render a particular section of the video.
It is an excellent fix for last-minute edits and changes.
Render Audio
Like the name, this option will render only the audio in your clip. If you are editing sound effects or music tracks, use this option.
Audio rendering is done separately by default, and Premiere Pro does not simultaneously render audio and video.
If you wish to change these default settings, go to the preference window and turn the settings off.

How to Pre-render in Premiere Pro?
- Select the area you want to work with.
- Go to Sequence, then select Render in to out.
How to Render a Part of a Video in Premiere Pro?
- Select the part of the clip you want to render.
- Click the sequence pull-down menu and select Sequence > Render Selection.