To export high-quality videos in Premiere Pro, you need high-quality footage, preferably 4K or even 8K. But there's a bit more to it. Premiere Pro export settings, frame rates, video format, color settings, or even the platform you'll be publishing for matters a lot.
In this tutorial, we'll talk about the best export settings for Premiere Pro for different platforms.

Also read: What format should I export from Premiere Pro for Instagram?
1. Export Video Files
You can export video files from Premiere Pro in several different formats. To choose the best format for your needs, think about the following criteria:
File Size - How large does the exported video file need to be? For instance, if you're sending a short clip to YouTube, you may only need a small file size. However, if you're making a promotional video for a client, you may need a larger file size.
Related: How To Export Premiere Pro for YouTube?
Video Quality - What kind of quality do you need for your final product? Do you need to edit the audio separately? Does your project require a 4K resolution? These questions all influence the type of file you select.
Resolution - Is your final output going to be displayed on a computer monitor, TV screen, mobile device, etc.? Depending on the answer to the previous question, you may need to consider HD vs SD resolution.
Audio Quality - Are you planning to sync audio clips together later? Will you need to convert audio files to MP3 or AAC?
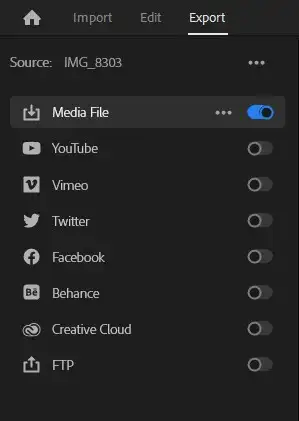
2. Set Up Output Settings
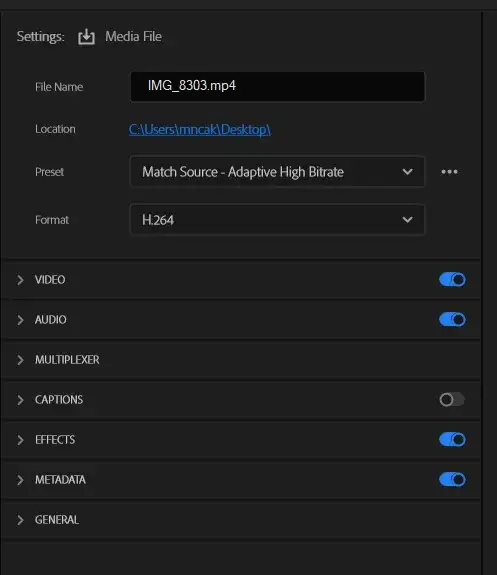
After choosing a destination folder, you'll also need to set up the settings for your output.
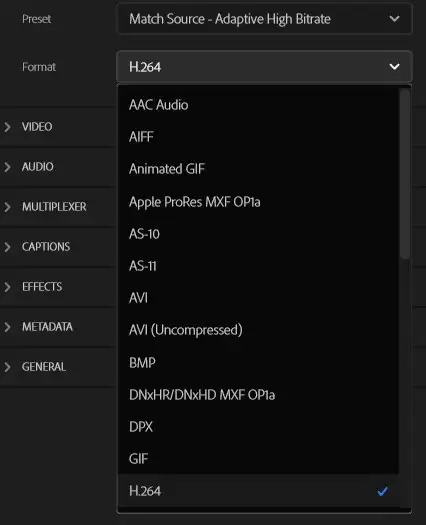
Media encoder is a feature inside Adobe Premiere Pro that allows users to convert files into different formats like MP4, MOV, FLV, etc. Choose “Export to MPEG-4 Video (*.mp4)" under Output Format. Click OK to save the exported videos. This is generally the best export option for YouTube and other social media platforms.
Output Format - This determines the file extension you want to give the file when you save it. For example, if you're saving an mp4 file, you'd enter.mp4 as the output format.
Also read: How to Export Premiere Pro to MP4?
Bitrate - Bitrate is a measurement of the amount of information being sent per unit of time. Higher bitrates mean higher quality, but they also result in bigger files.
3. Set Up Audio Settings Before Exporting Videos
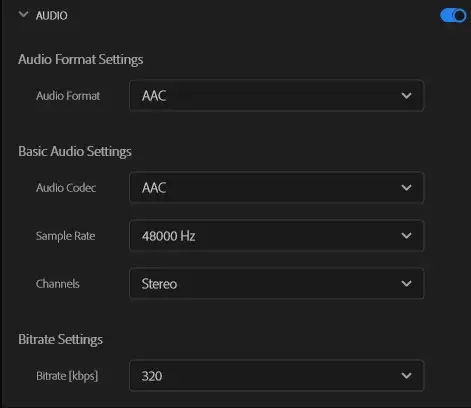
Before exporting videos, you may want to adjust the audio settings also. Higher audio bitrates will result in better-sounding videos on different platforms and devices.
4. Consider higher frame rates and FPS
Consider shooting your videos with a higher frame rate and resolution. Most devices these days can do 4K resolution and 60+ frames per second. This will ensure your final video will look fabulous even on huge televisions. Google says more than 100 million watch their favorite YouTube content on their televisions every month. That's just the USA, and numbers are only growing. So it's vital to ditch 1080p if your device allows it.
Related: Best video editors for YouTube
5. Use the right aspect ratio
High-quality content isn't just about resolution, frame rates, and maximum bitrates. The platform you're going to publish on also matters a lot, as this will bring up other questions. Such as what aspect ratio you need to use. Should it be a vertical video or a horizontal video? Most video projects for social media channels such as TikTok or Instagram use vertical aspect ratios. But for TV or YouTube consumption, you'll need to create your videos in horizontal format.