As a 3D modeler, I know how important it is to use Blender's modifiers. The process can be complicated, especially for newcomers. Relax! With patience and practice, you'll be applying modifiers like a pro.
Blender's modifier feature is in 2.7x and later (including 2.9x). It's essential for creating complex objects, but users often run into problems because they don't understand certain features. This guide explains how to use modifiers correctly so you can model confidently.

Also read: How to Use Lattice Modifier in Blender?
Quick Takeaways
Before we get into modifier application, let me explain what they are and what they do. Modifiers add or subtract polygons/vertices to an object's structure while maintaining its overall shape (i.e., no distortion). This helps modelers create more detailed models.
When applying modifiers in Blender, several steps must be followed: select the object(s) with Ctrl+A, click on the down arrow icon in the bottom left corner of your viewport window to access the ‘Modifier Overview' panel, and then select one or more common modifiers such as Edge Split or Subdivision Surface etc. In rare cases (edge cases), your project may require additional operations, but this should not cause errors if done properly.
When working with multiple objects simultaneously, you may need to pay close attention to their modifier stacks to avoid unexpected results – otherwise, error messages could appear. This brief introduction to modifiers in Blender should have given you some ideas on how to use them. Stay tuned for more tips.
What are modifiers in Blender?
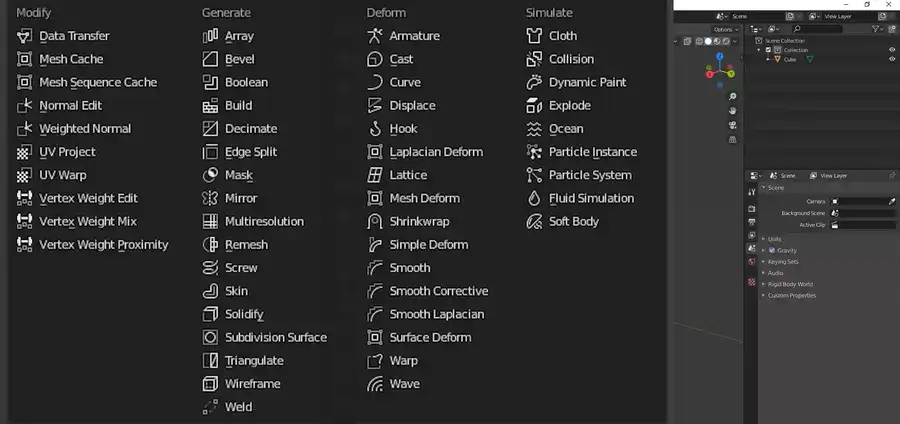
A modifier is an important tool for creating 3D models. The modifiers apply certain algorithms or operations that can be applied to an object, influencing its shape and size. There are around 54 modifiers in Blender as of writing this article. Here is a list of the most commonly used modifiers:
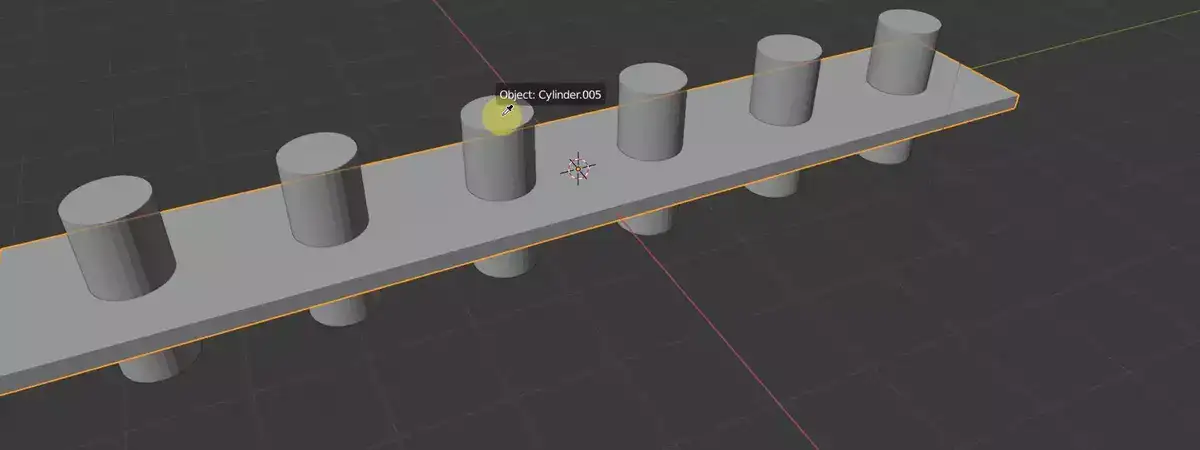
Array Modifier
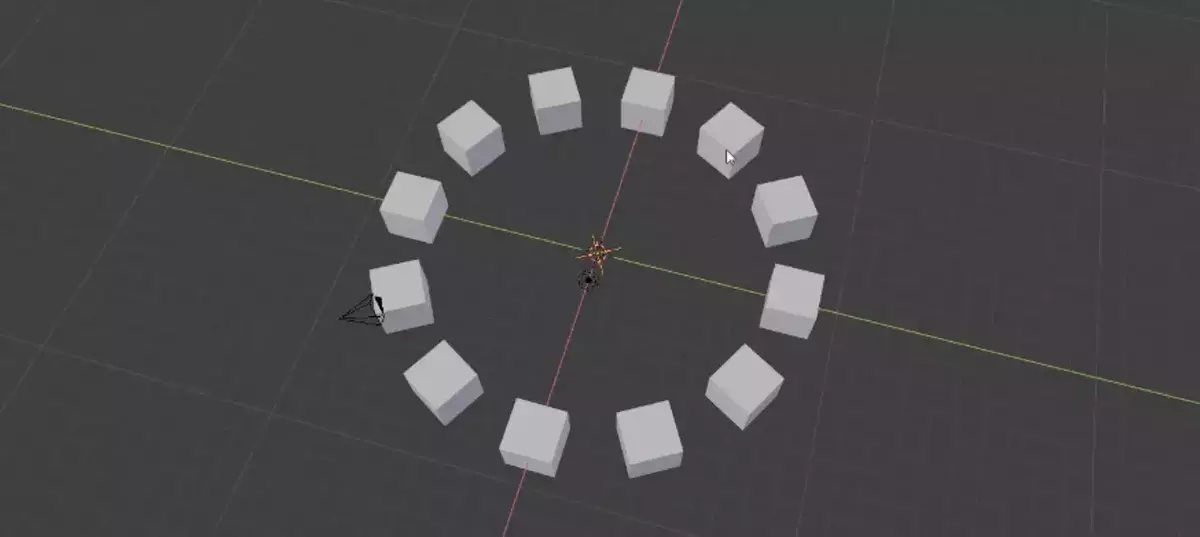
The Array Modifier creates copies of an object in various shapes, sizes and directions. This lets you quickly create complex objects by copying and arranging simple ones.
Bevel Modifier
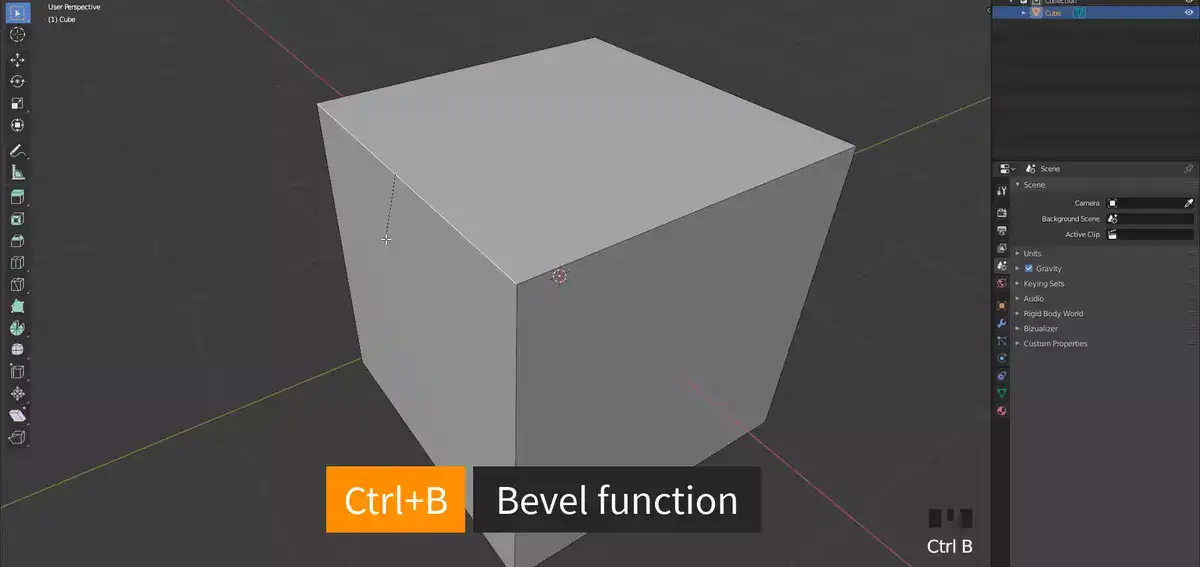
The Bevel Modifier adds bevels to the edges and vertices of an object, giving it a more rounded look. It also affects the geometry so that it looks smoother when shaded with materials.
Related: How to Bevel in Blender?
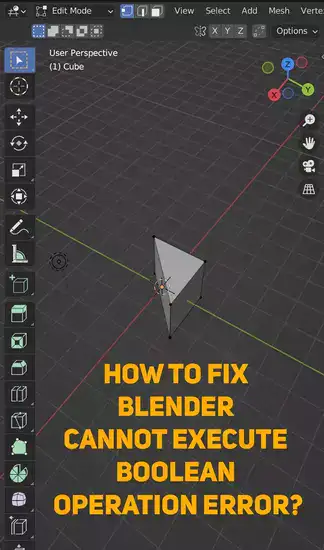
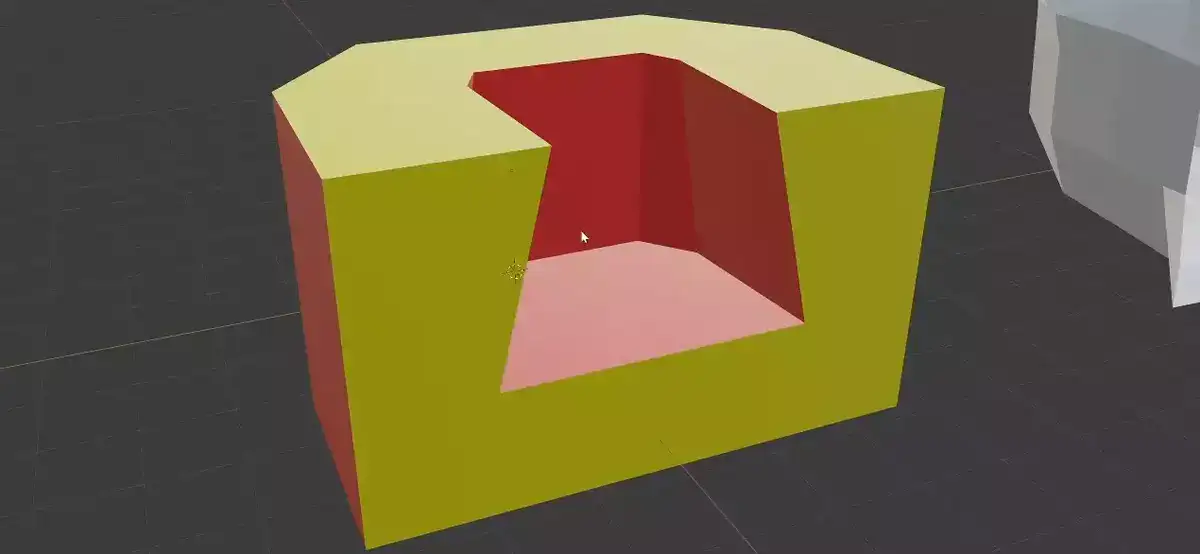
Boolean Modifier
The Boolean Modifier is useful for combining two different meshes into one object with intricate details. It enables boolean operations like union, intersection, subtraction, and difference between two meshes at once.
Build Modifier
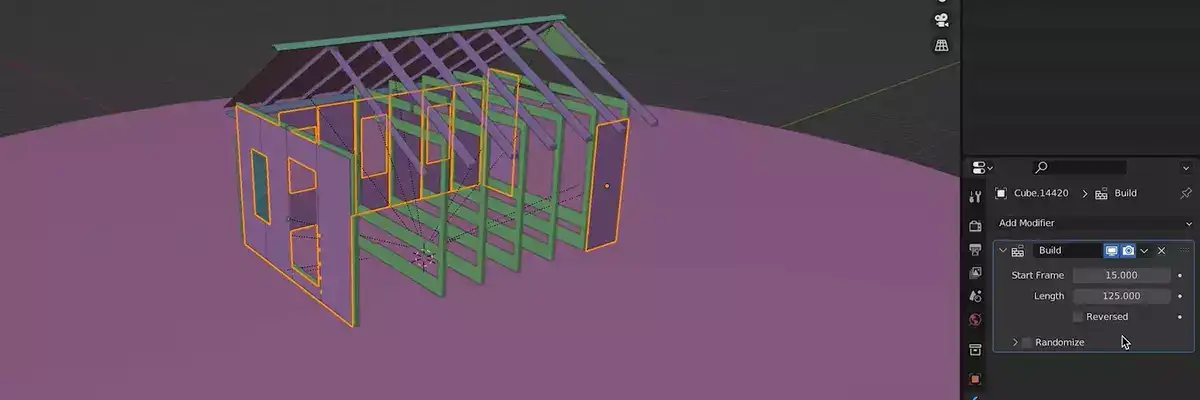
The Build Modifier allows you to animate a mesh being built up from individual pieces over time by applying incremental changes in transformation parameters like position, scale, and rotation over frames on different parts of the mesh.
Decimate Modifier
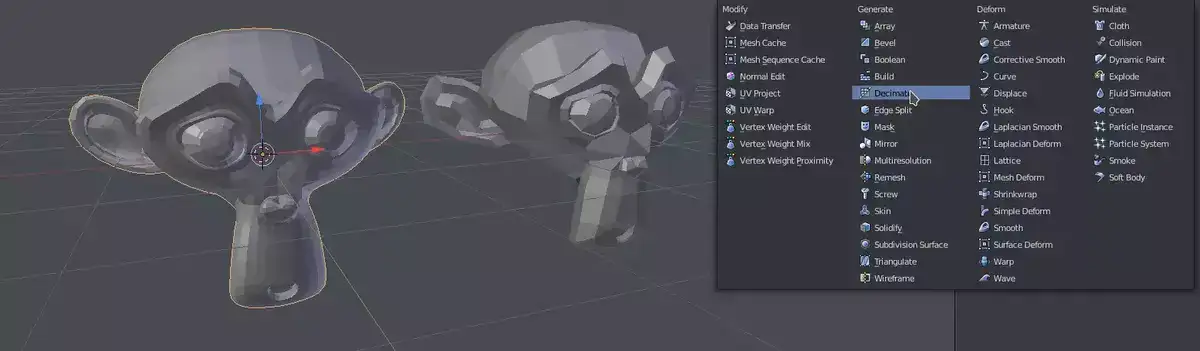
The Decimate Modifier reduces the complexity of a mesh while preserving its overall shape as much as possible by collapsing groups of vertices together based on their proximity to each other in space-time coordinates.
Edge Split Modifier
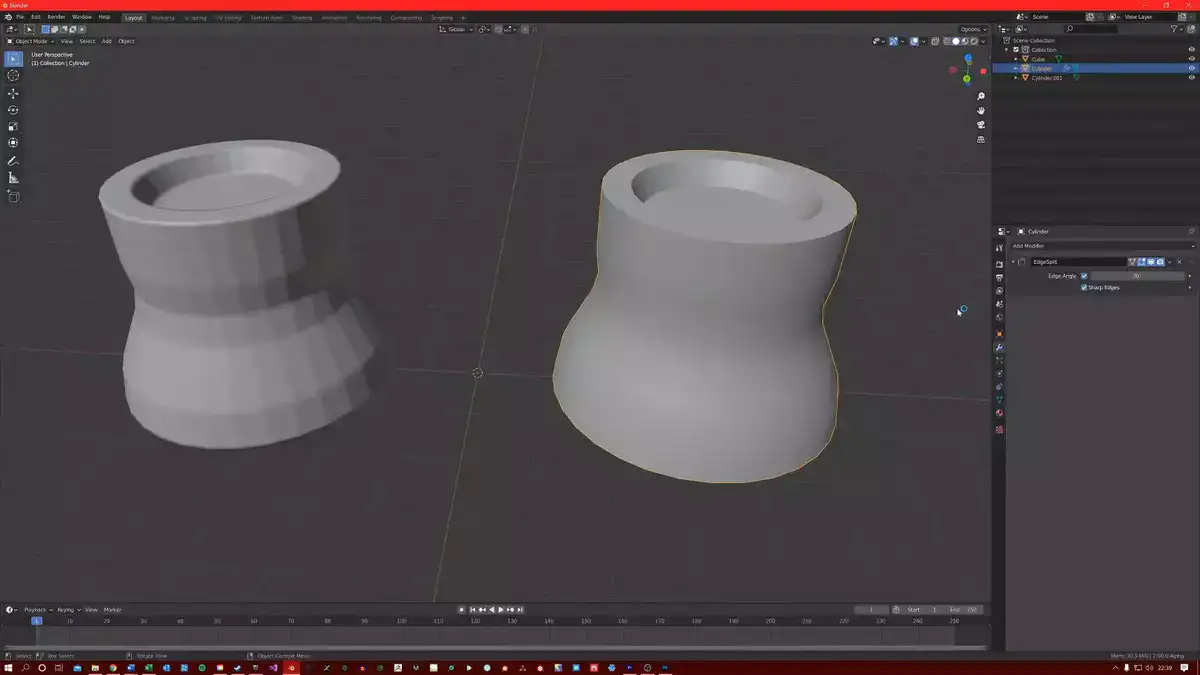
The Edge Split Modifier splits edges that are marked as sharp during shading so that they render correctly when smooth materials are applied to its surface. This helps create subtle but necessary details within your model such as sharp corners or creases that would otherwise not be visible due to smoothing out from multiple shading algorithms.
Geometry Nodes Modifiers
The Geometry Nodes Modifiers allow you to use procedural nodes systems for creating custom geometry, It gives us ultimate control over our meshes without having to manually edit them every time we want something changed . It’s especially useful for creating highly detailed models with textures, materials, reformers, etc.
Mask Modifier
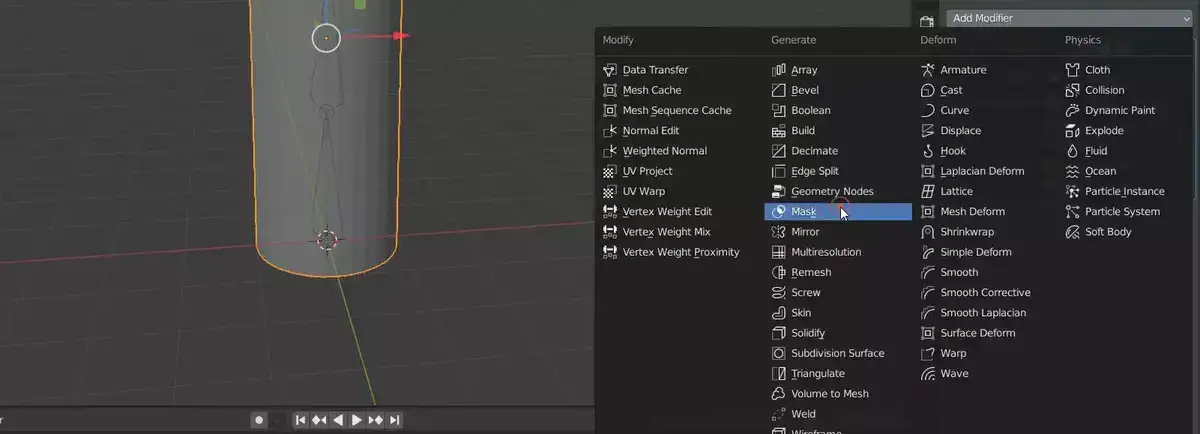
The Mask Modifier hides or reveals parts of an object based on either vertex group masking or texture masking. Vertex group masking works best when dealing with static objects while texture masking works better when animating geometric effects. It’s available in the most popular 3D packages like Maya and Max.
Also read: How to Cut Out Shape in Blender?
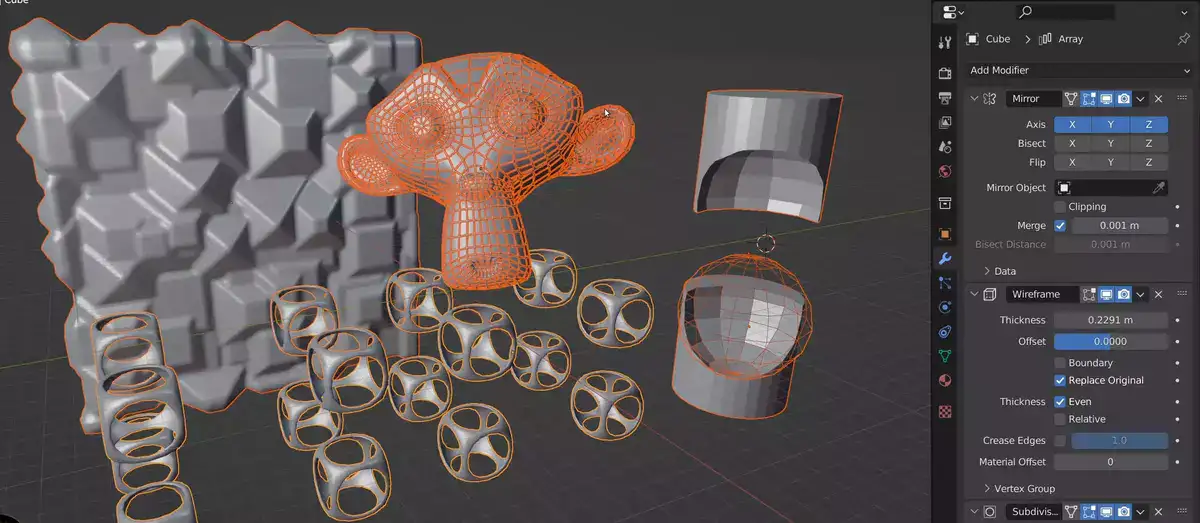
Mirror Modifier
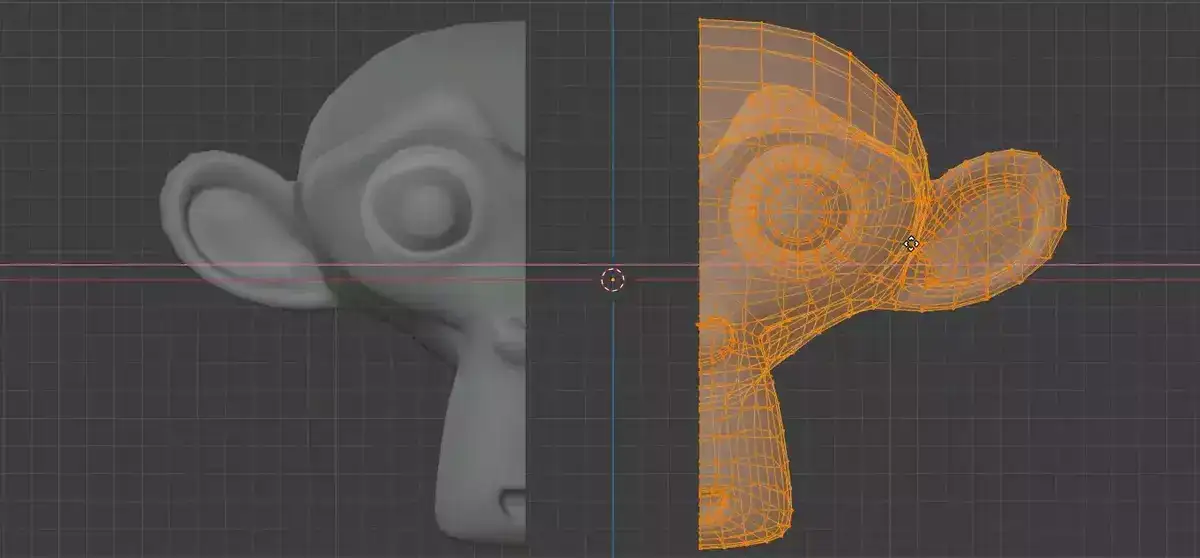
The Mirror Modifier is used to create symmetric objects by mirroring one side of the object onto the other. This is great for creating organic-looking creatures or even architectural elements such as columns, etc.
Multiresolution Modifier

The Multiresolution Modifier increases the resolution of a mesh by adding more details to it. This helps bring out finer details that would otherwise be difficult to create manually. By adjusting its parameters you can define how much resolution should be added to each part of the mesh.
Remesh Modifier
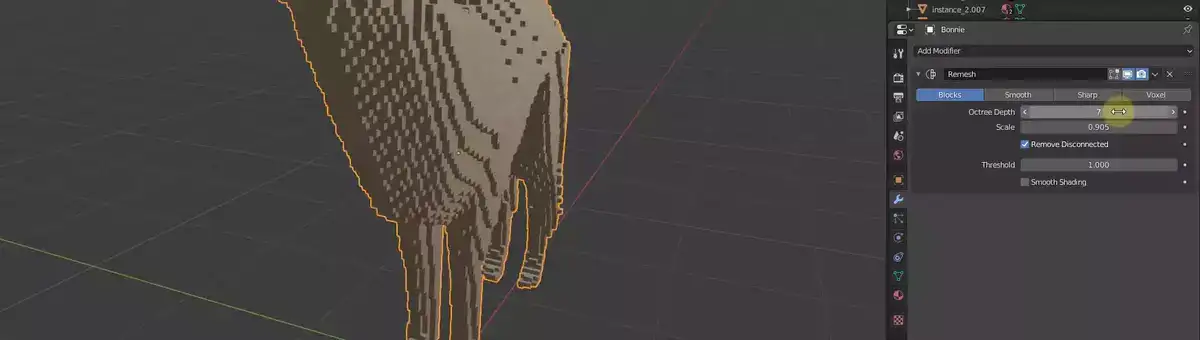
The Remesh Modifier is used to generate a new topology based on an existing one, which allows us to get rid of noise and make our meshes look clean while still keeping important features intact.
Screw Modifier

The Screw Modifier allows us to twist objects along an axis at certain intervals or lengths. It’s often used for making spirals, screws, and helixes with ease.
The Skin Modifier makes it possible to deform objects based on bones, joints, and weights which enables us to animate characters realistically with natural movements.
Solidify Modifier
The Solidify Modifier adds thickness to an object so that it appears solid when rendered with materials. It’s especially useful for creating mechanical parts or any kind of armor from scratch very quickly.
Subdivision Surface
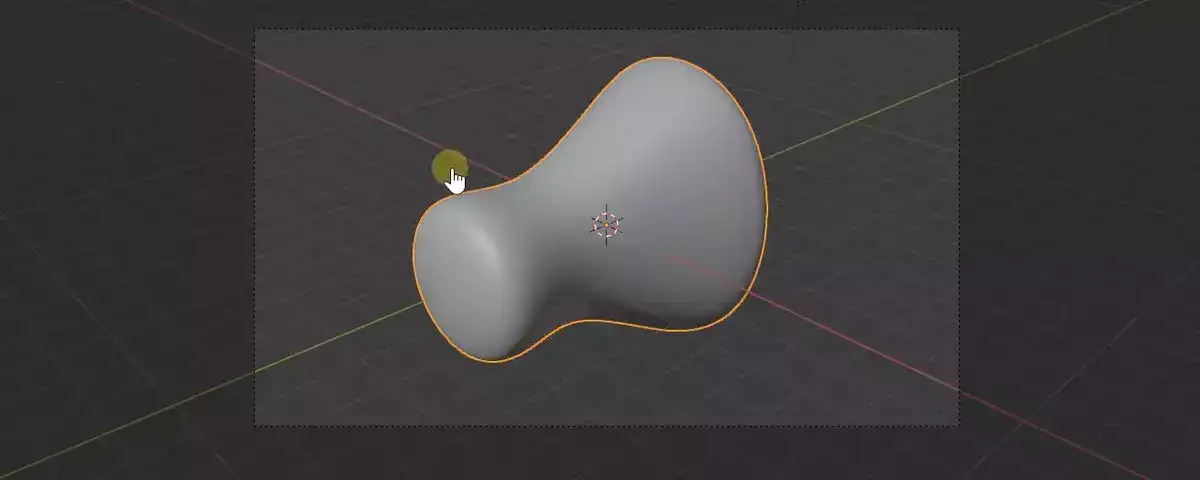
The Subdivision Surface modifier subdivides surface geometry so it looks smoother without having too many polygons in the scene. It helps reduce render times since it decreases polygon count but still keeps all details intact within the mesh itself.
Related: How to Subdivide in Blender?
Triangulate Modifier
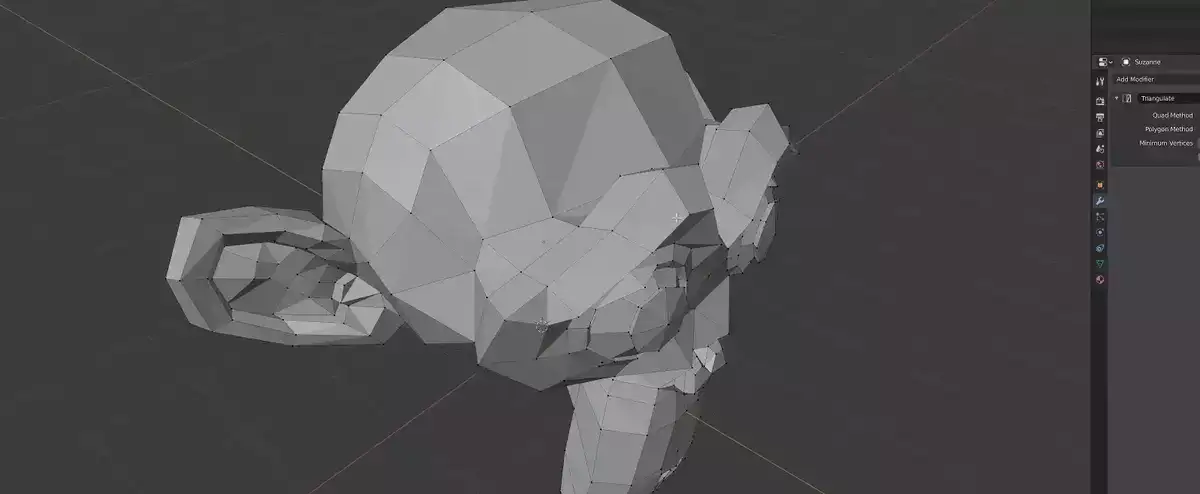
The Triangulate Modifier converts quads into triangles by splitting them at their diagonals. This gives us more control over how faces are shaded since we can independently adjust each triangle separately if necessary.
Volume To Mesh modifier
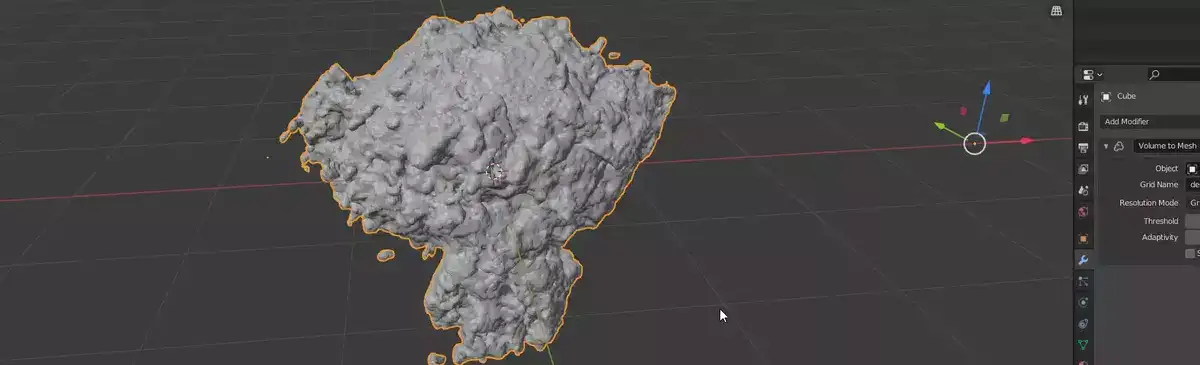
The Volume To Mesh modifier takes volumetric data from either a smoke simulation or particle system and turns it into a mesh that can then be manipulated further in Blender by applying modifiers like subdivision surface or mesh etc…
Weld Modifiers
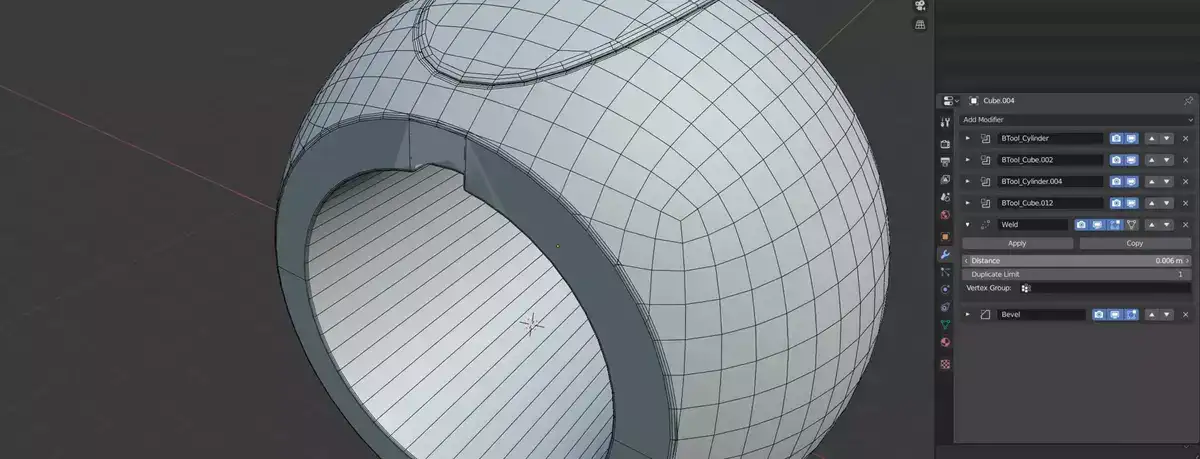
Finally, there are Weld Modifiers which merge together overlapping vertices together in order to create tighter models with fewer vertex points; this helps drastically reduce render times while still keeping details intact.
The Wireframe Modifier is used to create wireframes from objects using their existing topology. This can be really useful for creating technical illustrations or hard surface models with a minimum of effort.
These are the most common modifiers used in Blender, but there are many more available for you to explore and experiment with. Working with modifiers can be very rewarding, so don’t hesitate to dive into 3D modeling and start playing around!
How to apply modifiers in Blender?
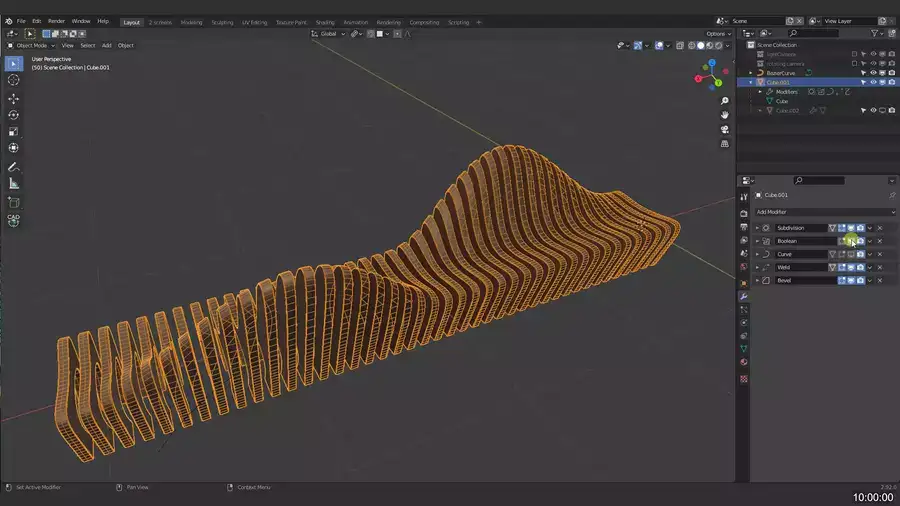
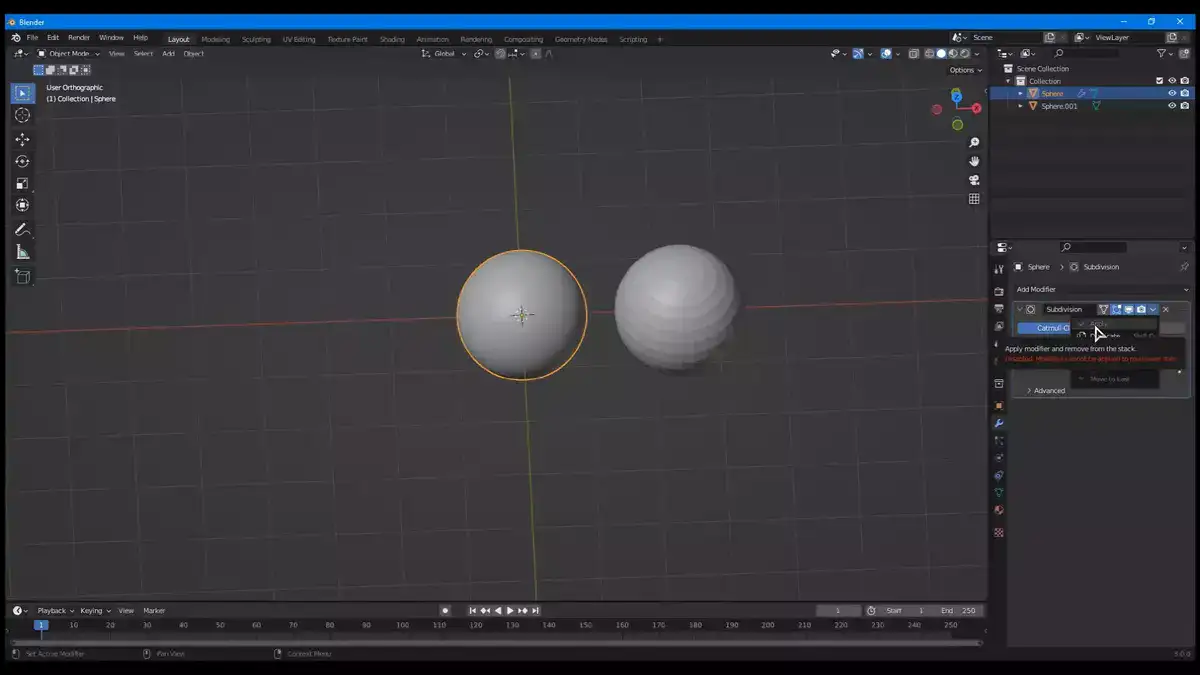
Starting with the user interface The modifier stack is located on the right, above the properties panel. If you hover over each icon, you'll see what kind of modifier it is. To apply a modifier, click its blue wrench icon.
White space above your first modifier icon is also an icon. Left-clicking affects all modifiers below (unless they have their own independent settings). You can also highlight multiple modifiers by dragging your mouse over their icons.
Click the blue outline button at the top left of your modifier stack to save everything at once (or press Ctrl+A). Click the camera icon next to any modifier header to see how your model looks after applying each modification from the stack. Finally, click "Apply" and you're done!
Also read: How to Use Shadow Catcher in Blender?
Blender 2.9x modifiers are complete! Following these steps should make learning this powerful toolset easier for beginners. You'll be able to use crazy modifications with enough practice.
How to apply a modifier to all objects?
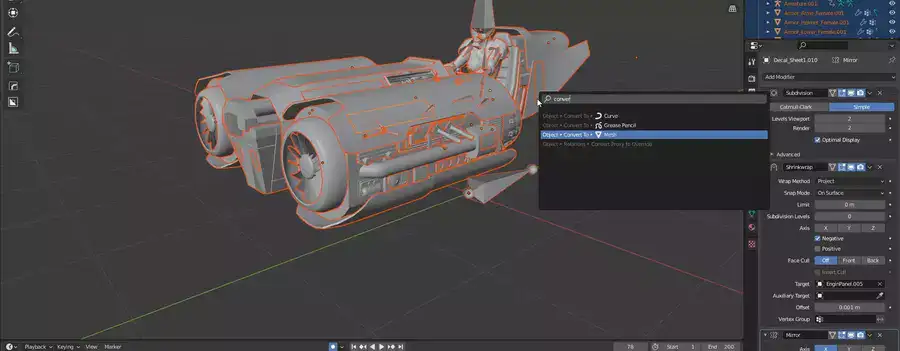
The first way is using the Object menu. Choose "Object" > "Convert To" > "Mesh" from the menu bar at the top of the screen. This converts non-mesh objects into mesh objects that can be modified. Add a modifier from the Tools Shelf or Modifier Tools Add-on tab. All selected objects will now be changed.
Apply All Operators is another option. This method lets you apply all modifiers at once without specifying each one individually. To use it, select all Objects and press Ctrl+Shift+A on Windows or Command+Shift+A on Mac OSX while in Object Mode. A pop-up window should appear with a list of available modifiers; click one to apply it to all selected objects.
Why can't I apply modifiers in Blender?
There are several reasons why you might not be able to apply modifiers in Blender. First, make sure that you have selected an object. Modifiers can only be applied to objects, not meshes or curves. Second, make sure that you are in Edit Mode (not Object Mode). Third, make sure that you have enabled Apply Modifiers in Edit Mode under Preferences > Add-ons.
How to solve “Modifier is disabled, skipping apply” error message?
If you see the “Modifier is disabled, skipping apply” error message, it means that the modifier is not enabled. To enable the modifier, go to the “Modifiers” tab in the Properties panel and click on the checkbox next to the modifier you want to enable. All of the selected objects will now have the modifier applied.
Related: How to Fix Pink Textures in Blender?
Conclusion
In this blog post, we have discussed how to apply modifiers in Blender. Modifiers are powerful tools that can be used to modify the shape, size, and appearance of objects in Blender. By learning how to use modifiers, you can create more complex and realistic models and scenes.