Wind noise in video clips can be anything from howling, whistly, gusty to boomy. If you do not remove wind noise from your videos, you risk damaging the audio quality, and your video will be rendered useless.
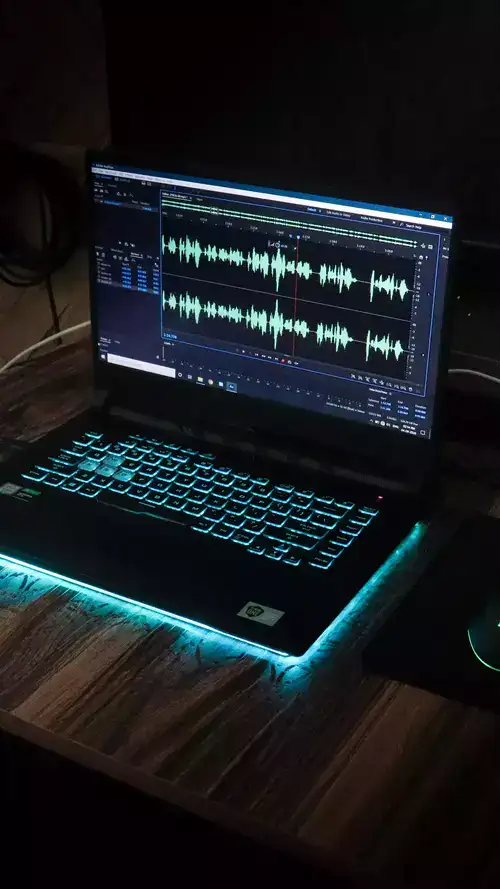
However, do not fret because we will show you a step-by-step guide on removing wind noise in Premiere Pro using your own customizable wind noise reduction preset.

Related: How to record audio in Premiere Pro?
By utilizing Multiband Compression and smart EQ plug-ins, you will be able to tame and de-harsh wind noises in no time.
You can use various procedures to remove wind noise in Premiere Pro. So, read on to find out how to tame those wind noises.
Short answer: In order to remove wind noise from your video in Premiere Pro, use highpass filter, multiband compressor, parametric EQ and mastering audio effects.
Step 1: Design Your Plug-in Chain
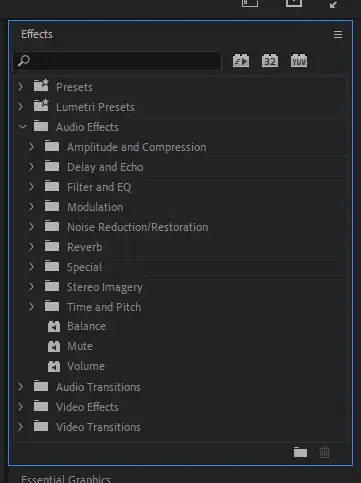
The wind noise reduction plug-in Premiere Pro is composed of 4 plug-ins that are linked together in series, and they include:
- Highpass Filter
- Multiband Compressor
- Parametric EQ
- Mastering
- To design your plug-in chain, add a highpass filter to the audio clip by dragging the presets from the Effects Presets option to the clip. This is essential in removing low sub frequencies in your audio hence cutting every frequency below 26Hz.
- Insert Multiband Compressor to the plug-in chain after the highpass filter. The compressor will reduce frequencies in specific bands dynamically. It will be able to read the incoming audio fluctuations in each level and then compress only the frequencies by a set parameter.
If your audio has wind noise, this comes in handy because all the other frequencies will not be affected.
The higher frequency will ‘breathe’ hence increasing clarity and intelligibility.
Related: How to fix out of sync audio in Premiere Pro?
Step 2 – Remove Wind Noise in Premiere Pro with Multiband Compression
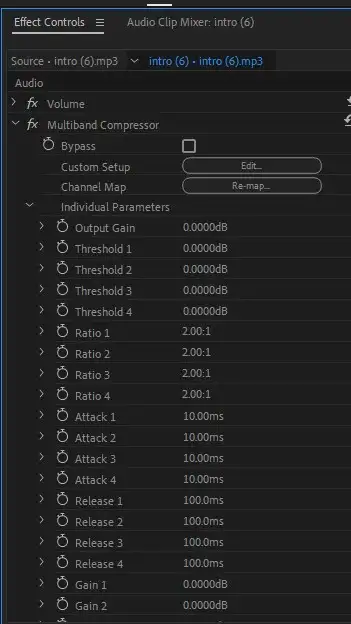
- Set your output gain to db
- Go to the Crossover section right below the spectrogram meter main window, then select the ‘low’ band.
- Set the ‘low’ band to 120Hz.
- Next to the ‘low’ band, choose the crossover band as ‘mid.’
- Set this chosen band to 2000Hz.
- In the same section below the spectrogram, choose the crossover band ‘high’ and then set it to 10,000 Hz.
These crossover frequencies represent the band frequencies together, which can also be isolated and affected exclusively by individual compressors.
If your audio has wind noise, it is practical to compress the frequencies individually. This is because wind noise belongs to the low and low-mid frequency bands.
- The next step is to configure the band’s settings. The ‘blue’ band shows the frequencies set from 3 onwards. This band will thus affect frequencies from 120Hz and 20Hz.
- Select the Thresh parameter under the blue band compression module and then set it to -24db. This setting determines the audio level above which compression will occur in this band.
- Alternate this setting by either lowering the threshold to effect more signals or increasing the severity of the effect.
- Set the gain to @0db.
- Set the ratio to 9:1.
- Set the Attack to ‘0 ms’.
- Set the Release to ‘119 ms.’
- After these, ensure that all the other parameters are set in the same way for each band and follow steps 8 to 14.
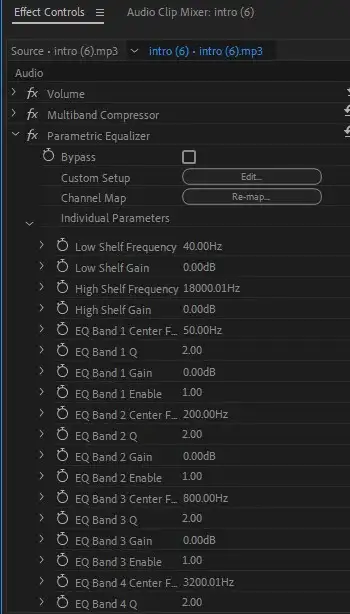
Step 3 – Applying EQ in Premiere Pro
EQ is a creative tool in Premiere Pro that solves various video editing problems, among them being wind noise reduction and removal.
- To do this, continue building your plug-in chain as aforementioned and insert two parametric EQs.
- The first parametric should have a frequency of 80Hz. Due to large pockets of pressure, this frequency will sound muddy and have a low rumble because of low pockets of pressure hitting your microphone during recording.
- Set the ‘Q’ control to 9.5.
- Set the ‘gain’ control to @-1.9db. If you reduce this low band, you can tame the wind noises in the 100 Hz regions.
- Under the parametric EQ, set the center frequency to 800Hz.
- Set the ‘Q’ control to 10.1.
- Set the ‘gain’ control to @+1db to lift some of the ‘middle bold’ frequencies back to focus. It also brings clarity and intelligibility in conjunction with the last stage, mastering.
Step 4 – Using Dynamic Mastering
The last stage of the plug-in chain is crucial for shaping and redefining. This tool allows the mid-cut and high shelf lift to occur as you apply ‘exciter’ in the high frequencies.
It not only improves clarity and enhances the overall output gain by 1.5db and brings the audio source back to focus. To design this plug-in, follow the steps below:
- On the left panel under the spectrograph, enable Peaking Enable.
- Set the center frequency as 12540Hz.
- Set the gain to @+1.2db.
- Set the Q control to 12. This will contour the low mids and brighten the higher frequencies that may sound windy or muddy.
- In the right panel of the Mastering Window, go to the Exciter section.
- Set the slider to 6%.
- Set the ‘widener’ slider to -16%.
- Set the ‘loudness maximizer’ to 4%.
- Lastly, set the ‘output gain’ to @+1.5db.
Are you done setting up this chain? Run your audio through it and note how the multiband compression will affect the breathability of the audio source and the quality.
Alter the Threshold controls to reduce or increase the compression for each band, then watch how it will clarify your audio source.
Now that you have garnered this knowledge, we hope you will be able to tame the wind noises in your audio sources in Premiere Pro.