You can create unlimited creative effects and emphasize scenes using slow-motion footage, slowing down normal speed footage, and even freezing time. In this tutorial, we'll discover how to do slow-mo effects using clips that may be less than 60FPS.
But there are things you need to know before deciding what slow-down alternate methods to use.

Also read: How to lower volume in Premiere Pro?
What frame rate are my video clips?
The more frame rate your clips will have, the slower your clip will be. A camera, for example, shooting at 1000 FPS, will be recording a thousand frames per second, giving your footage more details and a natural slow-motion effect.
A footage recorded in 24 frame rates per second, on the other hand, won't have the same level of clarity and detail when it's slowed down using time remapping. But still, you can achieve an artificial slow-down effect. It's just that the methods used won't be the same.
Also read: How to flip a video in Premiere Pro?
How to find my video frame rate in Premiere Pro?
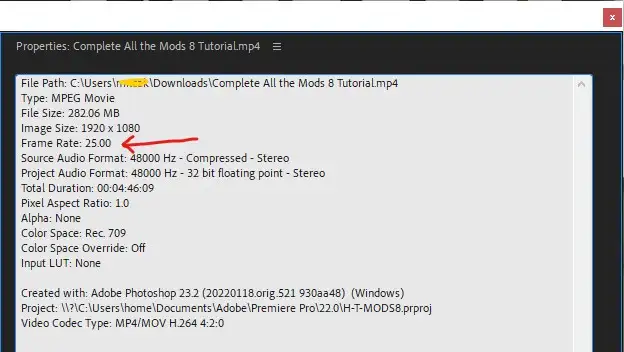
The default setting in Adobe Premiere Pro for frame rate is 24fps unless you've changed it before. If you want to change the frame rate or find out what your original video frame rate is, right-click on your clip in the timeline and select "Properties." The information window will display your video's type, file size, frame rate, duration, channel, effects used, and other properties.

How To Slow Down A Video In Premiere Pro Step by Step
Adobe Premiere Pro is a powerful video editing software used by professionals worldwide. It gives you numerous ways to slow down your clips. Here's how to speed up or slow down a video using Clip Speed / Duration Panel in Premiere Pro.
1. Select the Clip
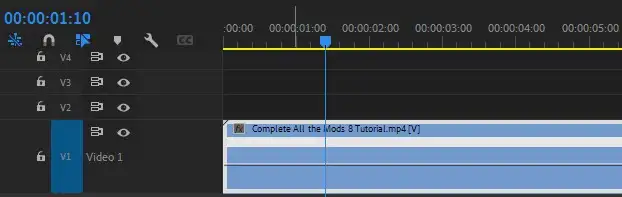
Selecting a clip in Adobe Premiere Pro is simple. Just click on the clip located in your timeline.
2. Adjust Playback Speed
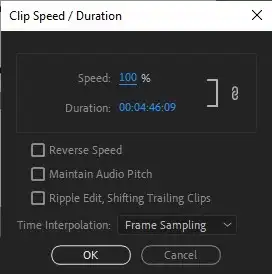
Once you've selected your video file, right-click on your clip and find Speed/Duration option in the menu. It should be located somewhere in the middle. Click on it.
3. Change the Duration
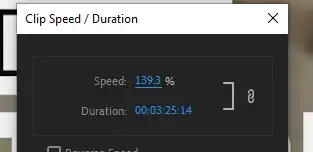
Speed percentage, playback speed, and video duration are tightly connected to each other.
- 100% speed is your original video speed and duration
- 50% speed setting will make the video duration twice as long.
- 25% speed setting will make your video 4 times slower and longer.
- 200% speed setting will speed up your video, making it two times shorter.
Make your speed adjustments from the menu and play with other speed control settings such as Reverse Speed, Maintain Audio Pitch, and Ripple Edit.
Reverse Speed: If you select that option, Premiere Pro will reverse your footage.
Maintain Audio Pitch: This option will prevent your audio from getting distorted to high or low notes, maintaining the original audio pitch.
Time interpolation: This setting generates missing frames when slowing down a video. Especially useful for low frame rate video clips like 24fps video content.
4. Add Keyframes
Adobe Premiere Pro's seed keyframes allow you to control the playback of a clip at specific times. For instance, if you wanted to slow down a clip so that it plays back at half speed, you'd simply keyframe the point at which you want the clip to play back at half speed.
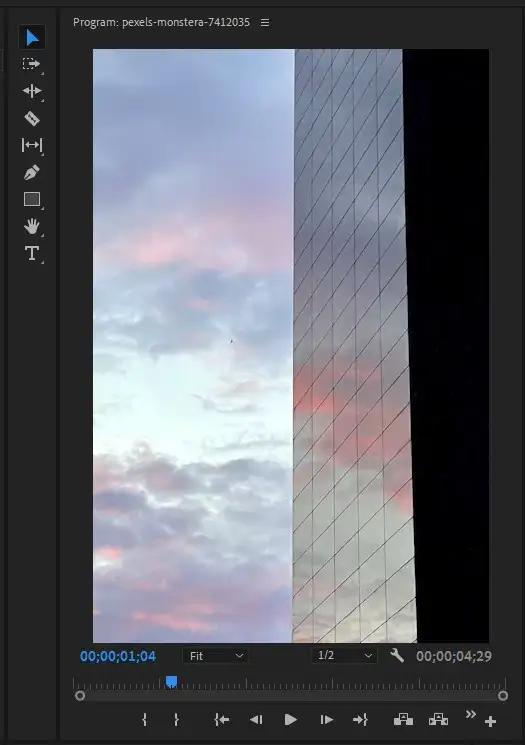
5. Use the Playback Controls
Playback controls let you pause, rewind, fast forward, and jump backward and forwards within a clip. These controls are located above the timeline.
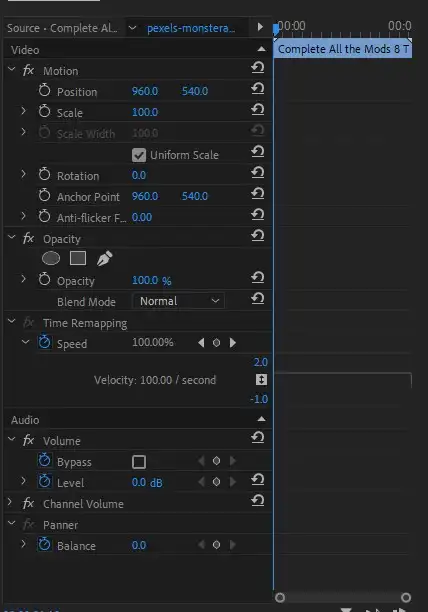
How do you time Remap in Premiere Pro
Remapping Audio Tracks allows you to change the speed of audio files within a project. This is very useful when you're trying to match the speed of dialogue to another track.
Time remapping is especially useful if you want to change speed duration dynamically instead of having an absolute value because it allows keyframes. You could, for example, slow down the start of the video and gradually increase the speed towards the end or vice-versa.
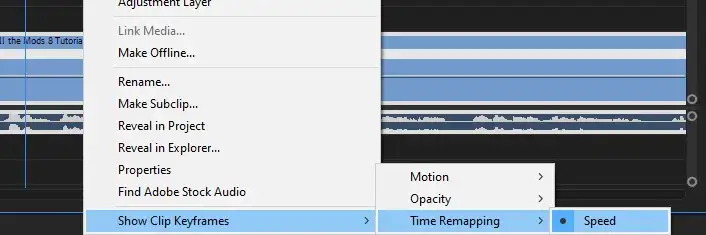
Step 1: Select the video clip you want to remap.
Step 2: Right-click on your selected clip or sequence.
Step 3: Navigate to Show Clip Keyframes > Time Remapping > Speed.
Step 4: This will open up remap settings on your timeline, allowing you to add keyframes and manipulate clip duration and speed as you see fit. To see your keyframes and add new ones, go to Effects Control Panel and select Time Remapping from created effects.

Use the rate stretch tool
The rate Stretch Tool allows you to change the speed of your footage without affecting its duration. This will help you create some cool effects like slow motion, fast forward, reverse, etc. Rate stretch is especially useful when you need to do it quickly or when you want to match two separate clips' durations.
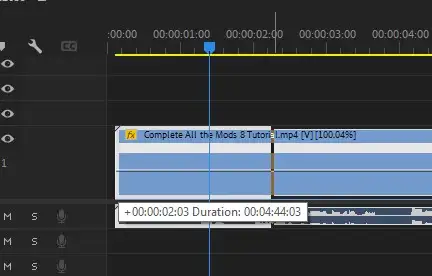
Step 1: Activate the rate stretch tool by clicking on "R" on your keyboard.
Step 2: Click on your clip's edge and drag it to the left to speed up the clip. Or drag it to the right to slow the footage and extend the duration.
FAQ:
How do you slow down a sequence in Premiere
You can slow down a single clip or an entire sequence/nest in Adobe Premiere Pro. The only difference is you apply the steps we outlined above AFTER creating your nest or sequence settings. Apart from that minor difference, the process is the same.
Can you do slow-mo with 30fps?
Yes, you can apply slow-motion effects to a video clip at 30fps. But it won't be as smooth as a higher frame rate footage. Make sure not to overslow it and also apply time interpolation settings to get better results.
How do you slow down keyframes in Premiere Pro?
You can slow down or speed up a video using keyframes in Premiere Pro with the Time Remapping tool. If you've added remap in your clip using the steps we outlined in method two above, it's time to go to the effects control panel and generate new keyframes. After adding two keyframes, change the second keyframe's speed to something lower than the first one. To learn more about keyframes and how to use them, read the following tutorial.
What is a speed ramp in editing
Speed ramps are used for fast-motion shots. They can be created using a camera mounted on an arm that moves quickly across the subject. This type of shot is often done when the subject moves too slowly for the desired effect.